
This weekend’s project is a four outlet switched Smart power strip using a Shelly 4Pro module! The Shelly 4Pro is designed for din rail mounting, which you’re not going to find often in the US. However, the ability to independently control four circuits with one module combined with the LCD display is a gauntlet thrown at the feet of any DIY smart home enthusiast. Using this module in a portable power strip opens up all kinds of possibilities for the workshop, holiday lights, or off-site use (with consideration for Wi-Fi on location).
By now, it’s obvious that I am a huge fan of Shelly products. I’m also a big fan of stealing ideas from Kerry. What makes this project INCREDIBLY special is that I ripped off every single aspect of the design from Kerry Clendinning, my partner-in-crime at The Smarter Home Club.
The enclosure, breaking tabs off of outlets to turn two outlets into four, using paddle style multi-switches, even using Wago connectors instead of wire nuts – all stolen from Kerry. I even used Decora style switches and outlets once he mentioned that he’d done it to make cutting the enclosure easier.
A slight difference between his implementation and mine is that he mounted a bank of 3 switches in the top panel, along with a cutout for the Shelly 4Pro’s LCD. I opted for a closed panel, with my LCD tucked away inside the enclosure, and with two banks of two paddle switches.

In order to REALLY add insult to injury, I told him how I’d wired mine and asked if I’d done it right. I also used stranded wire instead of solid after hearing about his struggles with the stiffer wire.


One of the harder parts of the project was cutting the enclosure. I didn’t take the time to measure and center the cutouts as well as I might have, so I had to make adjustments to the mounting holes.

I only needed to remove the break-away tabs from the outlets, but the switches required extra cutting.


Speaking of tabs – by breaking the tabs between terminals on the outlets, you turn two sets of two outlets into four independent outlets. There is typically a tab between the neutral terminals on multi-switches, as well. Since the power and neutral are all shared from one plug and then split into 4 circuits, you don’t have to break off the neutral tab. I always do it, though, so that I am consistent in my wiring practices.

This was my first experience using Wago connectors. Sometimes, you only need to use a product once to realize it is exactly what you need. Going forward, I will probably use these in all of my gang boxes, where space is almost always a concern. Due to cost, however, I’ll probably continue using wire nuts on my work bench.

Here’s the completed wiring. Kind of. I actually staged this picture to increase visibility, using green wire to represent O1 – O4 – these were swapped with black wires for the final version, with green used for ground to the outlets. Wiring was much easier than cutting the enclosure and mounting the hardware.
Speaking of which, the Shelly 4Pro is attached to the bottom using silicon. I didn’t want to go through the extra steps of cutting and mounting a din rail and using silicon gel both keeps the module in place like a glue but allows me to easily remove it for re-purposing later on.

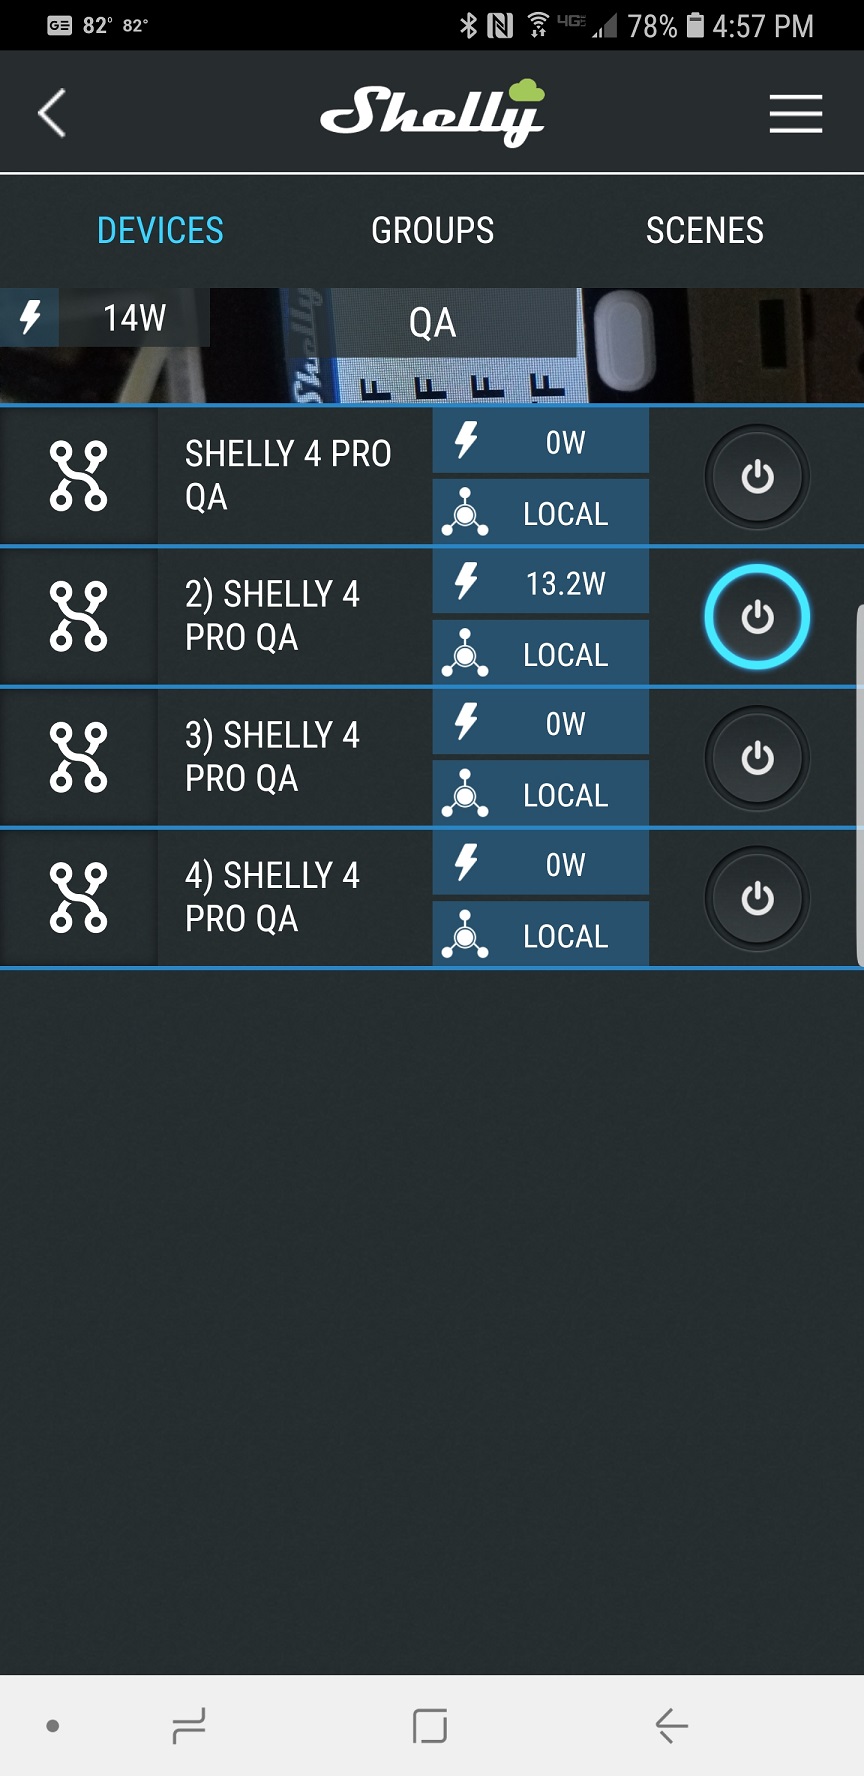
The provisioning of the module worked the same as any other Shelly module. Power on the device, open the Shelly app, go to the room you want to assign the module to, select Add Device, and follow the steps on screen to connect it to your Wi-Fi and then to Cloud.

This is a project that any enthusiast should tackle at some point. It’s a few hour’s work and gives you a better way to experiment with equipment that it typically installed in your wall. Having done it once, I’d probably want to skip the enclosure for future versions and instead cannibalize an existing power strip instead. Also, I’d make sure to include a fuse coming in on the hot line, which is my next task for this specific project.